The Last Camera from Superheadz is the latest DIY camera that got some of us all excited and curious about. Picked up a set from ThirtySix yesterday and after Fitzand went to bed … me and my old eyes started work on trying to assemble the many little parts in the package. Due to the many tiny parts … I just can’t risk trying to assemble it while Fitzand is watching TV … as he will keep coming to tell me stuffs like ‘Daddy … Megatron is dead ya know?’. I don’t care if Megatron is dead or drunk … but I sure care if my camera can work.

The pretty neat packing. See the ‘face’ in the middle? That’s how my face looked like when I saw the many parts in the box! They included a screwdriver in the set but unfortunately it ain’t those type with magnetic tip. That makes things a little difficult if you have fat fingers like me. Do use your own screwdriver (with magnetic tip) to speed up the process.
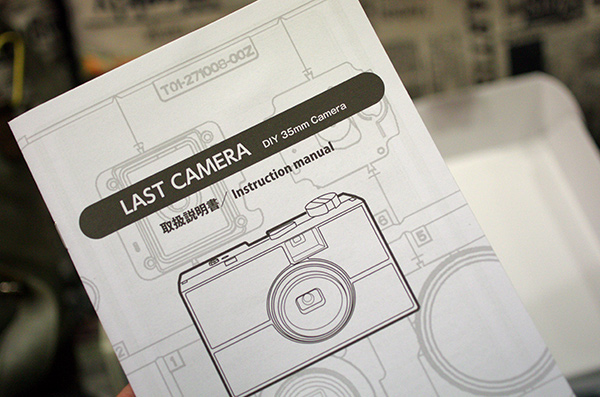
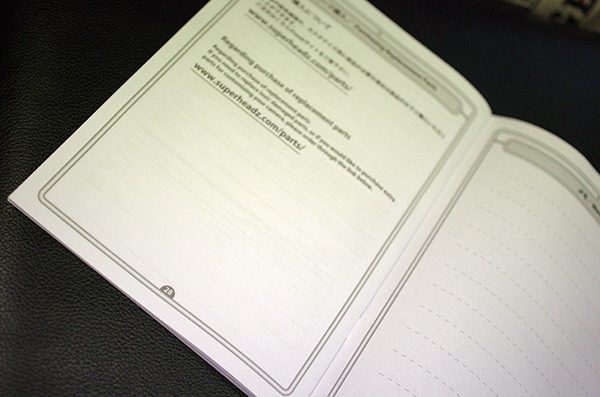
What?? A 28 page manual? I knew it wasn’t gonna be too easy!

The parts you gotta put together to get your camera working. Challenging?

The lens and viewfinder elements. These are the stuffs that made my assembly work almost aborted. I dropped 2 of the elements (L2 and L3) when I ripped apart the packaging and couldn’t figure out which is which! I ended up messaging my ‘hotline’ … Jimmy from ThirtySix to find out which is which. Since he has not assembled his (luckily!) … he was able to tell me the correct one (I hope!).

Ermm … lots of springs!
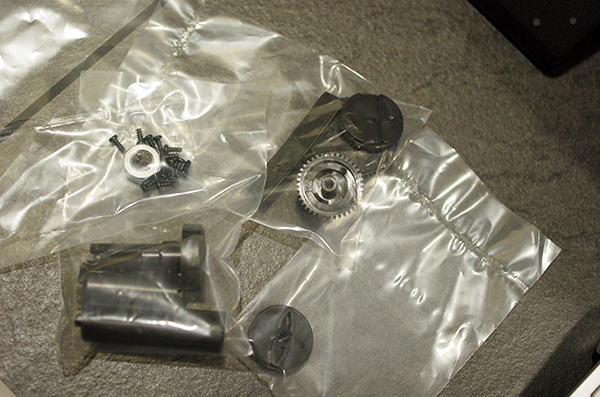
As for the many screws … do not worry. There are 3 packs of them … one with a short fat screw for the rewind knob, a pack with 2 screws for the door hinge … and the rest are all the same size packed together for the rest of the parts.
I decided to take some photos during the process and share with everyone … any tips or tricks … or anything to watch out for. Since there are tons of little parts, I made sure I plan how I wanted to go about doing it in advance. A messy environment will definitely drive me nuts! Having it all arranged properly makes the assembly process shorter (I think).

No more flipping : I ripped out pages 4 & 5 as they are the parts diagram and having them next to the manual does help a lot. Otherwise … you might have to keep flipping back to these 2 pages to refer to the part numbers.

Look and think before cutting : There are some parts you have to be a little careful with when cutting/removing the parts from the ermm … what do you call it? Ermm … nevermind … I guess you know what I mean. For example … the part above for the rewind crank … it will be disaster if you accidentally cut off the 2 bits at the side (pointed in arrow in image above).


Get ready for spring time : Now this is another tricky part (to me). There are 9 pieces of springs in the package. Try to identify them and arrange them in order (as per manual page 5). That makes it very easy to pick up the right one at the right stage of assembly.
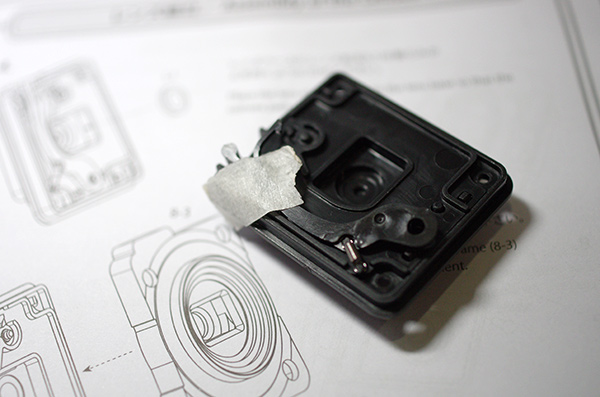
Sticky situations : Get some masking tape (or whatever tape) ready. There are times when a part will just ‘pop up’ or bounce up after assemble (pending assembly of other parts). Just temporarily stick the parts together til you are ready to join it with the other corresponding parts.
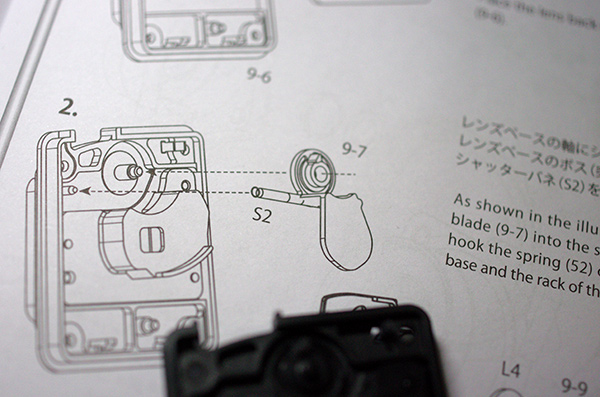
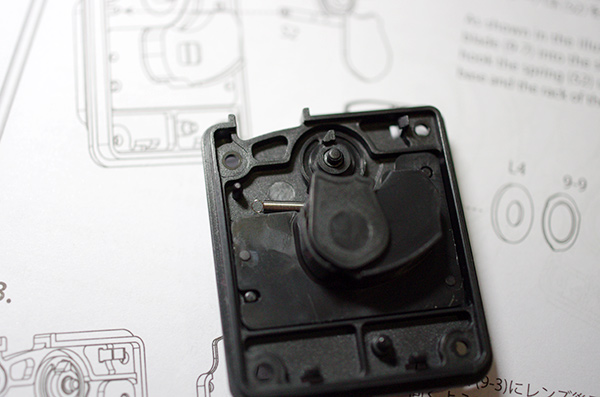
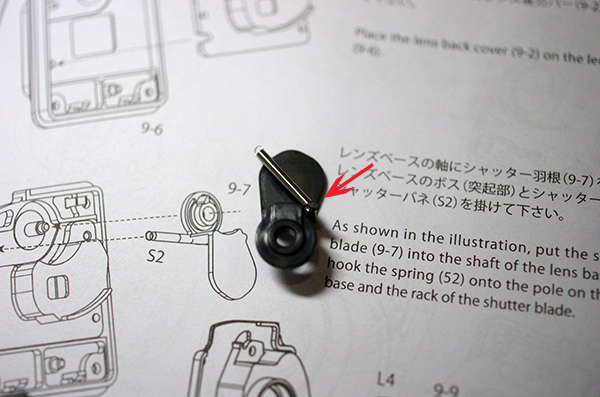
Hidden from view : Referring to these 2 images above (page 11 in the manual), you might (like myself) for a moment can’t figure out where the other end of the spring hooks on to. Just flip the part (shutter blade) over and you can see that there is a little hook on it. See the little hook (pointed by arrow) in the image below …
Convex and concave : For the lens elements assembly … just be extra careful with the orientation. You can refer the next 2 images below to see why I say so.


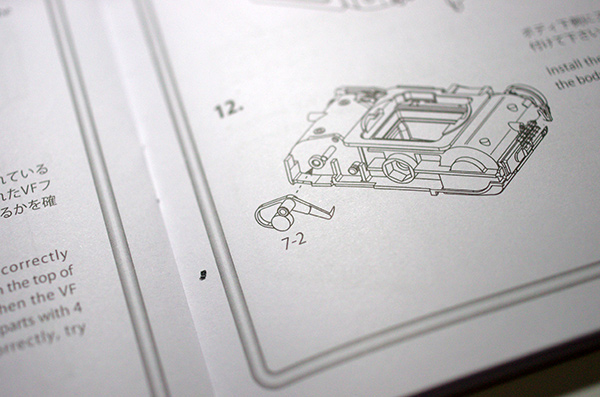
Almost there : Refer to the next 2 images below … I am posting the image of how that part (7-2) looks like when properly installed. Maybe it is just me … I couldn’t really figure out how the part should be installed at first look.

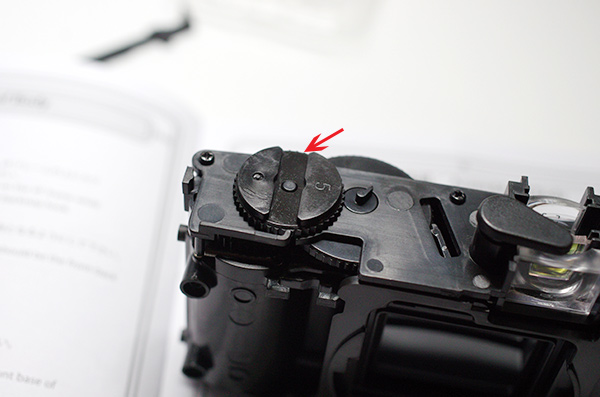
Flute? : I went ‘huh?’ when I read the line that mentions ‘the flute of the counter gear’. Then I realised it is the part indicated in red arrow in the photo below.
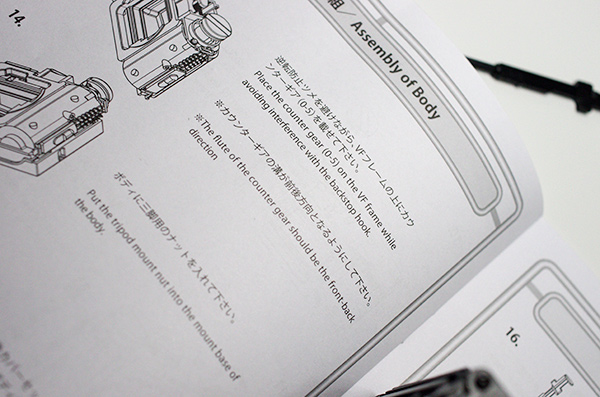
Erratic firing : After all is done (well … at least 99%) … I realised that sometimes the shutter won’t fire when I press the shutter button. Oh no! Panic time! Carefully studying the shutter release mechanism … I came to a conclusion that it was due to the part (labelled ‘A’ in the photo below) that was sometimes holding back the shutter release mechanism. Carefully using a pen knife … I shaved off a bit of the plastic to smoothen it and that somehow did the trick. The shutter release was working well after that.
Do be very careful when doing it … as you DO NOT want to shave/cut off the part labelled ‘B’! Once that is gone … your Last Camera might not be the last one you buy. Hahaha! They do say you can order parts in the manual though. 😛

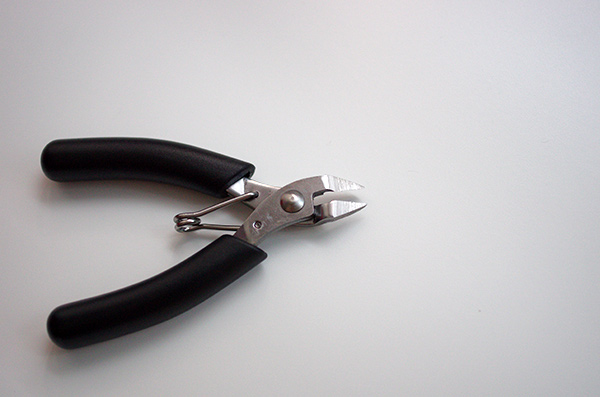
So it took me about 2.5 hours to get it all assembled … including the time it took to message Jimmy for lens element identification. One little tool that help make it all easier … this little cutter below (I do not know what it is called). I started with a pair of small scissors and realised that it slow things down and there is a risk I’ll accidentally cut off more than necessary. This cutter cuts real clean since it has a flat side … and the parts will come off clean (without some extra bits of plastic where the many parts join). If you do not have such cutter … you will just have to carefully cut/shave off the extra plastic bits.
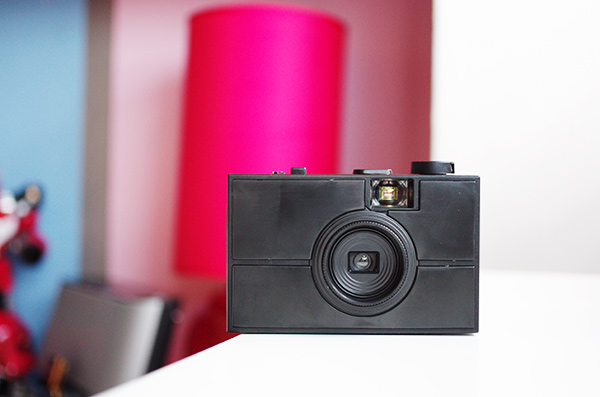
Here’s my Last Camera … ready to roll! Too bad the weather is not cooperating today. Rainy!!! I might not be able to do a test run with this camera today but hey … it is a public holiday this coming Friday and I might just be able to burn a roll or two in this camera!

Once I’ve tested and if this camera is working fine … I’m gonna ‘dress it up’. 😀 I’m gonna make it into a Leica!
For those of you here in Singapore who wanna grab a set of the Last Camera … do drop by ThirtySix soon. I was there yesterday and the cams are flying off the shelves real fast! No … they didn’t buy me beer to say this! 🙁
Looking forward to see the test shots. Looking at this, I just recalled that my gakkenf
lax cam is still nicely packed in the box.
@Jer : Gakkenflex?? What took you so long?
Haha…lazy I guess!
this reminds me of the PlaModel… I wanna know if the picture effects are different!
Hi 🙂 thanks for sharing those tips. Please do share the photos you took with this DIY camera!! 🙂
Can I pay you to fix mine up?
@Raven : I doubt there will much effects except for the lighleaks (if enabled)
@Qh : I sure will post the test shots soon
@cyanwater : For you (only) … One coffee will do 😀
i hope thirtysix got sell the cutter oso 😀
@lawry : Hahaha! You want them to turn into a hardware shop? Those cutters can be found cheap in any hardware shop. 😀